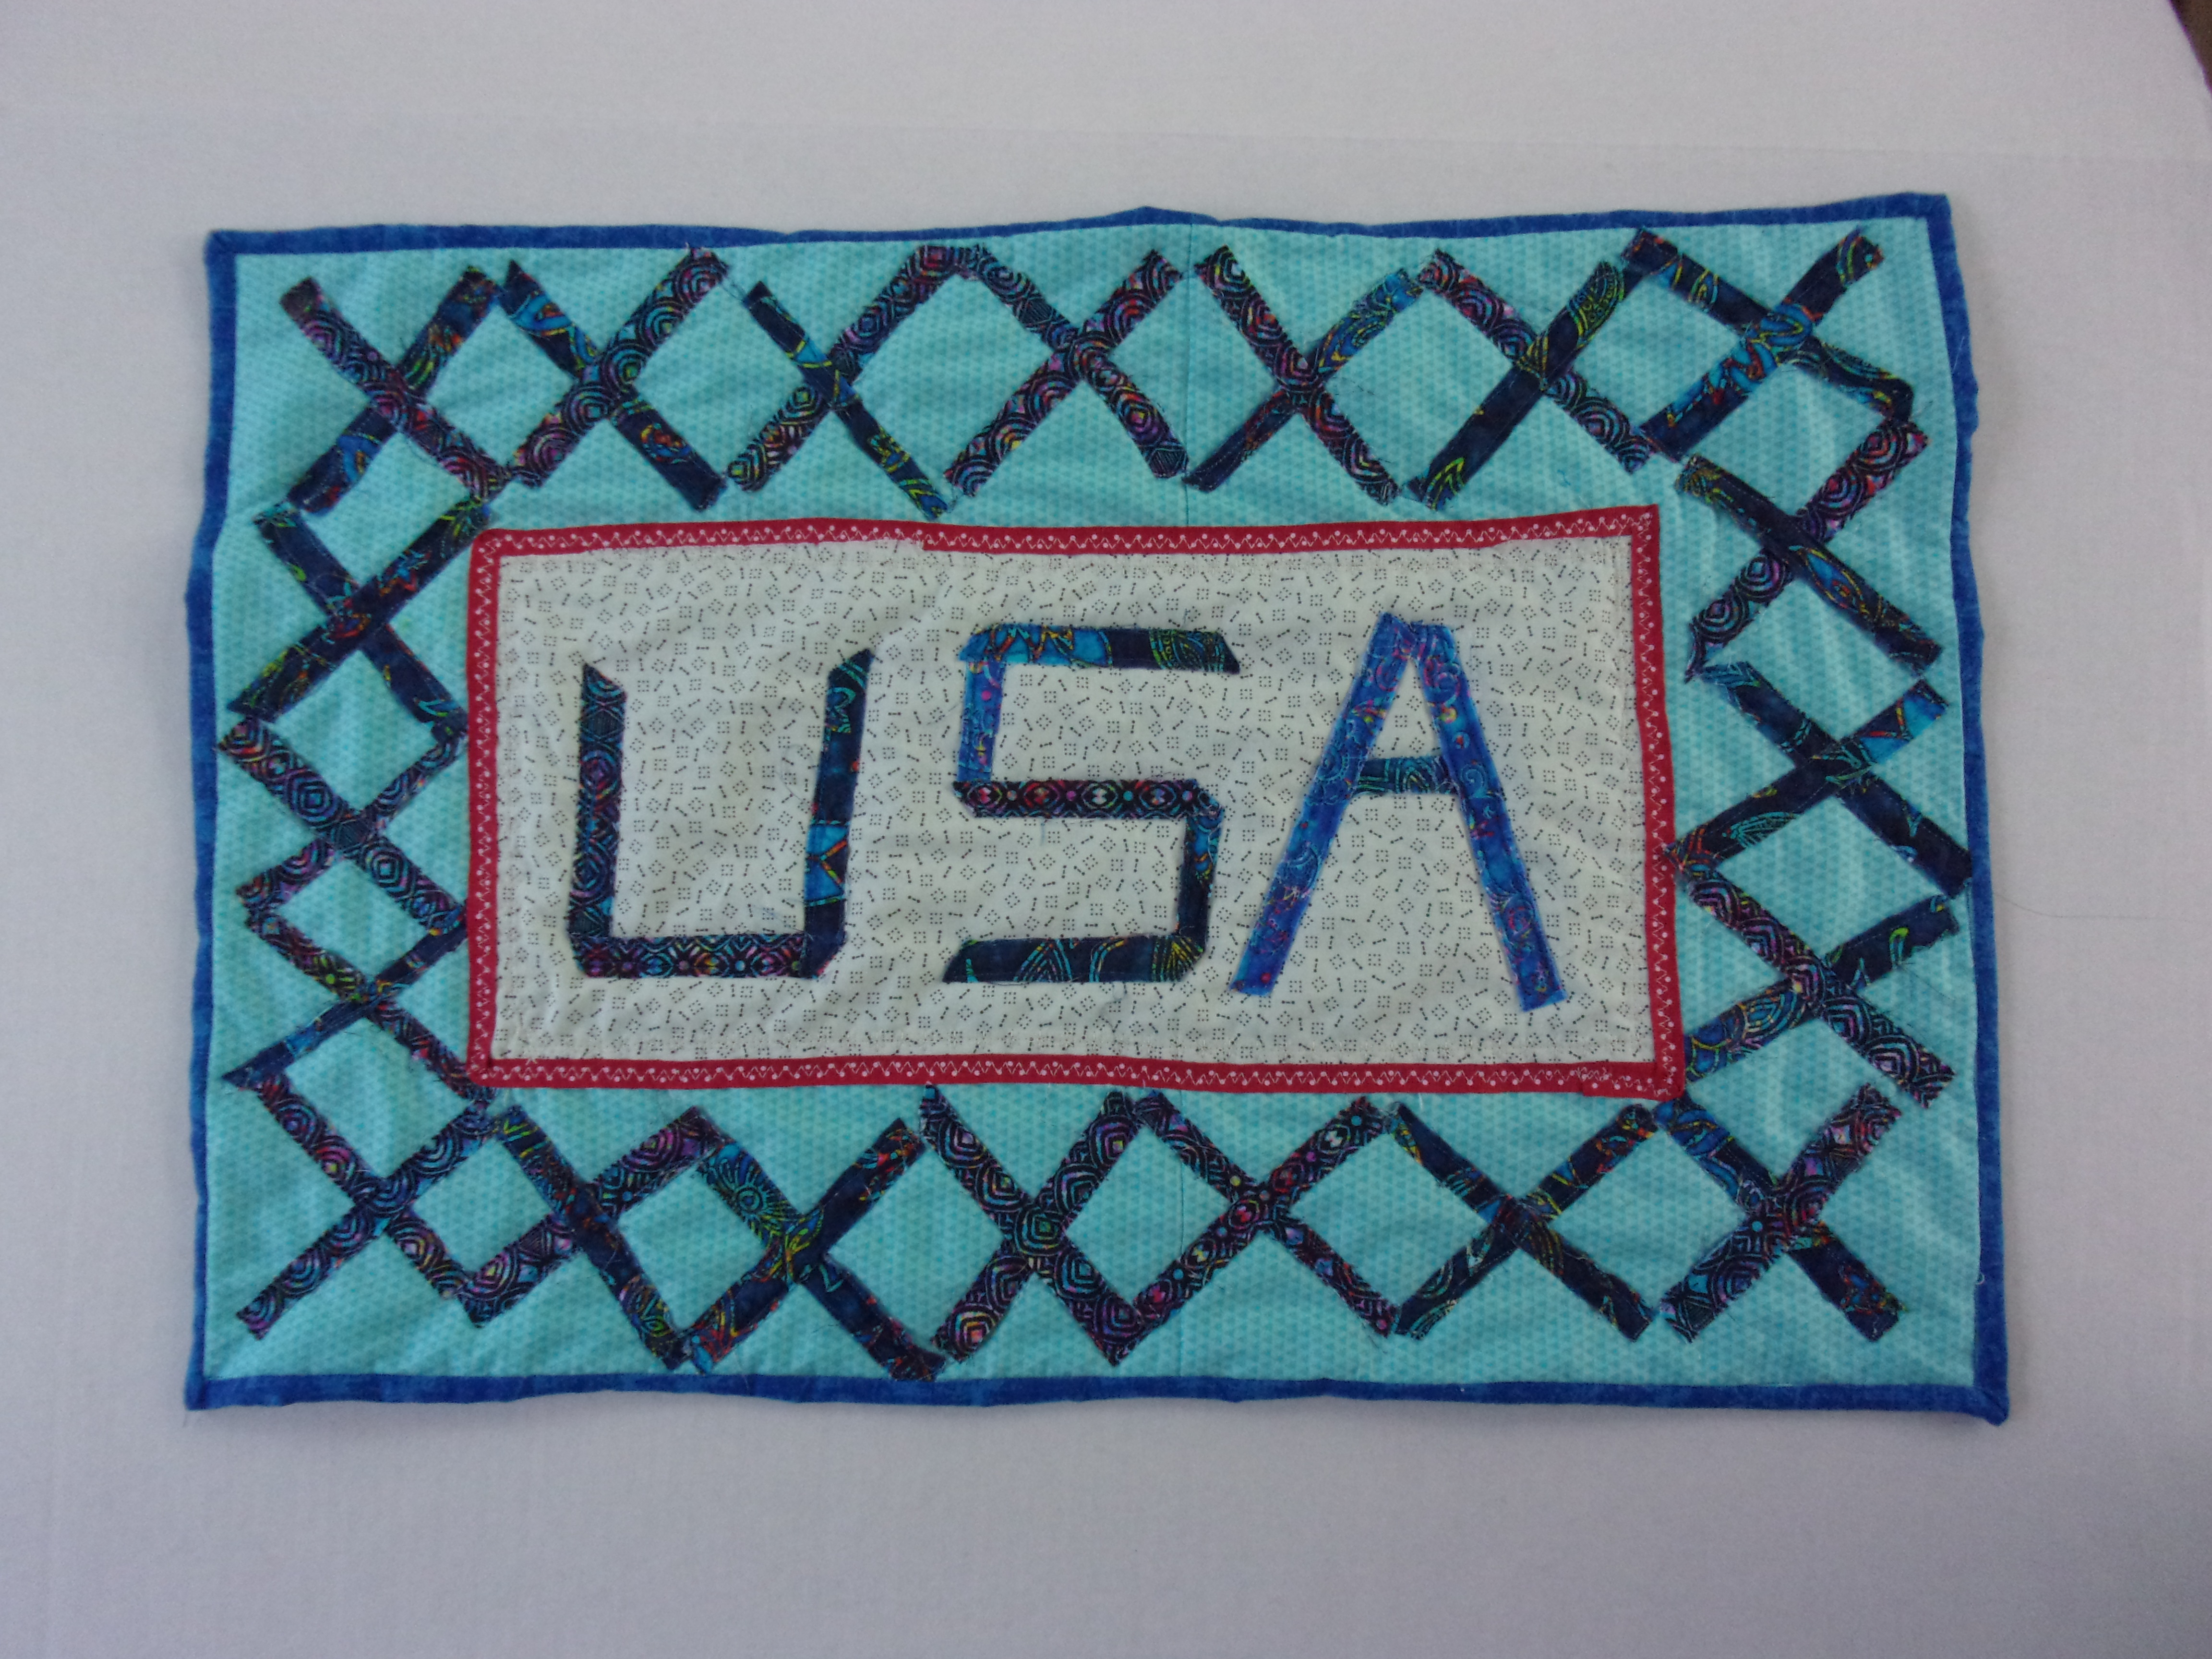
America 250 Quilt Project
from Lovin' Life At The End Of The Dirt Road
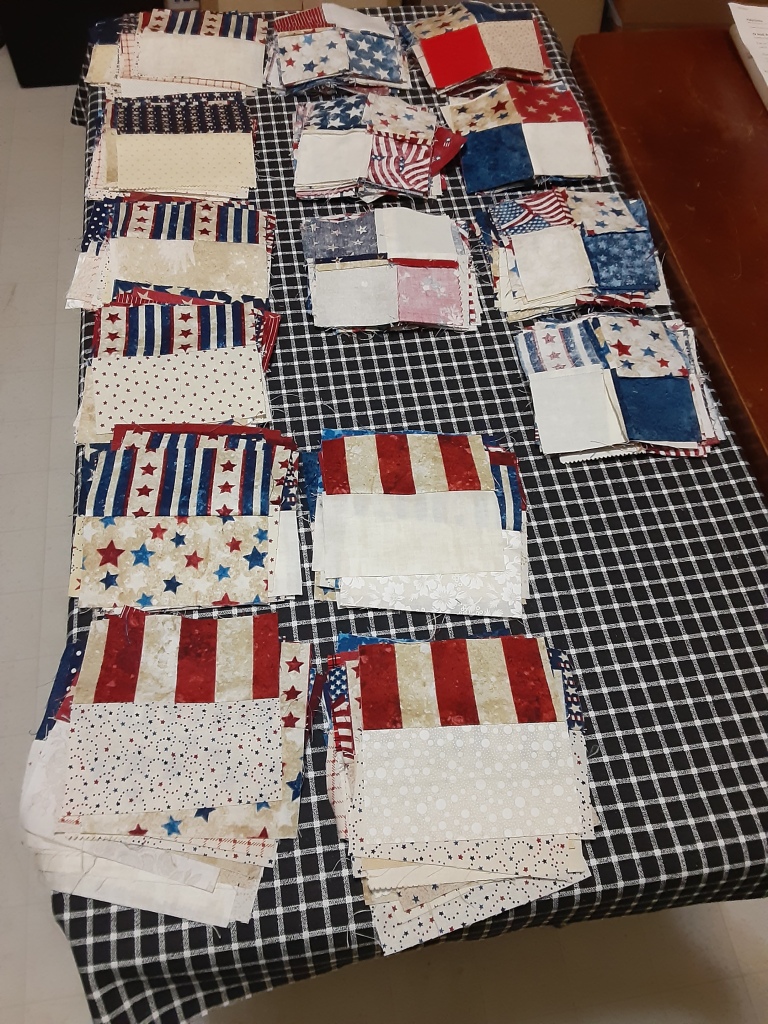
This quilt has been on my list since I first saw it in this bookAnd I thought it would be fitting to make it in patriotic colors as America celebrates 250 years so I pulled out this bin. There are a lot of cutting instructions and I'm starting with scraps and small pieces of well seasoned yardage so this is going to be a labor of loveI'm also going to leave the stars 1/2 blue,
read more.jpeg)

.jpeg)
.jpeg)