Reading 1820 Blogs Daily!


  • mitered corners
  • Page 1 of 1 ( posts )
December 7, 2023
WIP Wednesday #113: Quilted Hot Pad Placemat with Mitered Corners from Crafty Gemini

In this episode of WIP Wednesday Vanessa is going to share her tips for making a quilted hotpad and how to miter the corners. NO BINDING needed! These techniques will work for making hot pads, placemats, pot holders and even quilts! If you enjoyed the last few episodes of WIP Wednesday then you’ll love seeing it all come together in this show!

These would make great gifts for your loved ones this holiday season.

As usual, Vanessa will be sharing lots of tips & tricks so you don’t want to miss it!

Submit your own question to be answered ...

read more
November 5, 2023
Let's Make Some Napkins! from Sister Of The Divide

Let's make some napkins! These are quick, easy and inexpensive, finish beautifully and they will look lovely on your table. Suitable for gift giving, tucked into a basket with some additional small gifts or even just tied with a pretty ribbon and gifted on their own! Wonderful for a housewarming, bridal shower, birthday, picnic in the woods, you can think of a million ways to enjoy them and gift

read more
November 2, 2023
WIP Wednesday #111: How to miter fabric corners & more questions answered! from Crafty Gemini

In this episode of WIP Wednesday Vanessa is answering your pre-submitted questions on:

– working with precut fabrics

– interfacings

– and she’ll be doing a demo of how to make easy mitered corners on your fabric projects.

This technique is great for professional looking fabric napkins. Lots of tips & tricks will be shared so don’t miss it!

Submit your own question to be answered on a future WIP Wednesday here: https://forms.gle/D2qMCVJxfAgJHvWb7

What we’re covering:

0:55 – WIP Wednesday #111!

2:21 – Mitered Corner Napkin Tutorial

3:08 – Using a manilla folder as a hem guide

4 ...

read more
March 1, 2022
The tipping point from Crazy Quilter on a Bike!

Torry wins the prize -- well, there is no prize, but her answer was correct, and a couple of people were close. It's all in the name. 

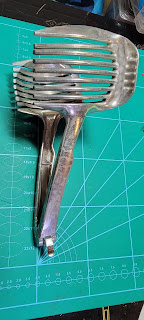
Remember the mystery tool from yesterday? 


The mystery kitchen utensil

While some people will call this a tomato/lemon/egg slicer, it's, in fact, a HOLDER to slice those items. You put the roundish food in the claws, then put your knife through the tines and cut away -- no accidents. There's a bottom lip that holds it flat on the table, and you can even buy plastic ones. Personally -- it's ...

read more
November 6, 2021
Fun Friday! from Crazy Quilter on a Bike!

Not to bore you with my UPS package, but it's in the right state, so it should be delivered on Monday! Yippee!!!!

I can't wait until I have another package to send to see how to fix this commercial invoice problem! It doesn't matter, the package is arriving one business day late, and I can certainly live with that!

It makes me laugh because when I worked for a fabric company, which was concerned about the cost of shipping things but had zero issues with shipping overnight instead of 5 days. So what's the difference? Well ...

read more
October 15, 2021
Mitered corners from Wendy's Quilts and More

Mitered corners - they look so good, but they're not always easy.  


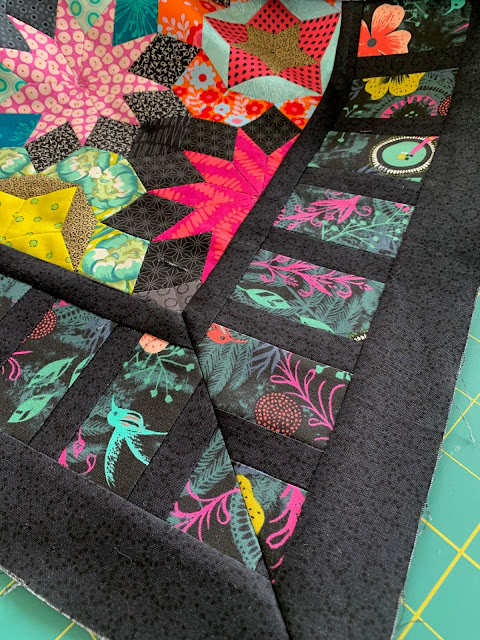
My first mitered corners were on my la Passacaglia quilt above, and they worked out well. 


My second attempt was on my Fireworks quilt (Ballet with Kaffe), and although the pattern didn't match perfectly, it wasn't too noticeable because the border is mainly black.


I also used mitered corners on my Trans-Tasman Bubble quilt (Aussies and Kiwis - remember the Trans-Tasman Bubble??). 

The navy and white striped border needed to be mitered in the corners to allow the pattern to flow. 


Now I'm ready to attach ...

read more
February 13, 2021
Five Steps To Mitered Corners from Quiltnotes All Blogs

This article was originally posted in July of 2018 on my old website.

Mitered corners look great on quilts. Many quilters shy away from sewing them because it seems complicated. Break it down to these 5 simple steps and get the results you want every time.

Step 1: Cut Border Strips

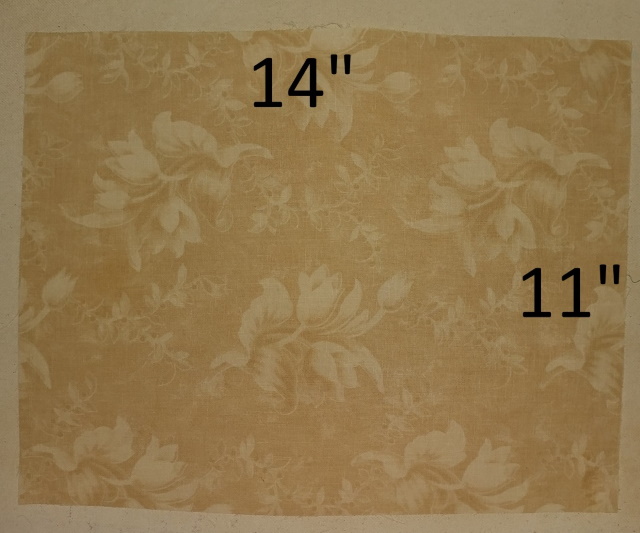
In this example we use a quilt top that measures 11" x 14".

 
The borders are cut at 3-1/2" and finish at 3". To determine what length to cut the border strips, add the following numbers:

Width or length + cut border width + cut border width + 1"

The 1 ...

read more
January 11, 2021
Saying Good-bye from Crazy Quilter on a Bike!

 I have two posts this morning. The second post, which you'll find right after this one, is the last call for class sign-ups for this year's ongoing classes. The clubs are full. Well, as full as I'm going to let them get. I believe I've been in touch with all the clubs except the machine embroidery and the EQ8. I've made the distribution lists - I just need to write the verbiage. 

When I was sorting through some of M's old school stuff, which is still hanging around in the office, I discovered a folder ...

read more
March 19, 2020
Back To Basics from Quiltwoman Blog

Many needlecrafts that were popular in years past have been having a surge of
renewed popularity. Just visit Pinterest and search for Needle Punch or Rug Punch
and you will be inspired to try a “new old craft”. I recently started doing hand
embroidery and needlepunch again after remembering how much I enjoyed doing them
as a teenager over 40 years ago.

Over the next few months at QuiltWoman.com we will be introducing “Make it Your Way” patterns that will help and encourage you to explore Needle Punch Embroidery, Hand Embroidery, Rug Punching or Hooking, and Easy Applique. Watch ...

read more
February 4, 2020
Continuous Binding Tutorial + Mitered Corners – FREE Beginner Quilting Videos and Pattern from Quilt Addicts Anonymous

Make sure to download the FREE pattern to go with this class and get a 20% OFF coupon in your email you can use on all your supplies. Click here to get the FREE pattern and coupon: https://shop.quiltaddictsanonymous.com/product/split-nine-patch-free-beginner-quilting-video-series-pattern/

For years I was afraid of sewing continuous binding. The results are amazing. You can’t tell where you started or stopped your binding, which means no lumps or bumps where you tucked in extra fabric. But if you screw it up, OMG you have to start completely over.

But when I tried it for the first ...

read more
  • mitered corners
  • Page 1 of 1 ( 10 posts )